Stellaris Megacorp DLC – all our videos and infos

STELLARIS MEGACORP DLC – collection

Hi friends, so happy to see you here!

There is A LOT of Stellaris coming with the Megacorp expansion, I’m continously adding content to the post.

In this post so far:

  • Stellaris Dev Diary #140 Constant Improvements 2.2x
  • Stellaris Dev Diary #139 Support and Repairs – Roadmap for 2.2x
  • Stellaris Grand AI Tournament, Megacorp Edition
  • Stellaris Corporation Civics Overview
  • Let’s Roleplay Stellaris Megacorp: MEGACORPSE INC. (Playlist)

This post will be continously updated with community fun videos like the Grand AI Tournament, guides and news about 2.2 and Megacorp from the point of release.

You can already start creating and sending me some empires and corporations because we’re going to have a new GRAND AI TOURNAMENT! Contact me via Comments or mail to thoughtfulgaming ( at ) hotmail.com if you want to be added to the Tournament’s Mailing list, too.

Stellaris Dev Diary #140 Constant Improvements 2.2x

Stellaris Dev Diary #139 Support and Repairs – Roadmap for 2.2x

Dev Diary #139 „Let’s fix these“

by Daniel Moregard (promoted from the Stellaris team)

Basically he is a cool guy and will gain more profile as he becomes more prominent. Seems a little bit more down-to-earth from the first glance but if you read his twitter from time to time he definitely also has a VISION.

Pop Growth

„can feel wrong“

„adjusting how pops are chosen for growth“

„especially for planets where they have low habitability (that should only be done as a player choice)“

Current Pop Growth

Makes your population incredibly diverse for no logical reason, because you only have one „growing“ spot. It’s the game’s limitation on pops causing this and that is ultimately the problem. It results in very illogical developments, like that your main population should have the most frequent absolute pop growth (because of their base mass).

In fact, after you have immigrants, your original pops often basically stop growing in numbers. That is illogical, but supported by the growth formula that supports lower-in-number pops to be grown.

What, then, is a solution? The pop system is necessary for the game and its diverse species but fails to adapt to the reality of normal population growth mechanics.

Realistic Pop Growth System

Solution? I’d love to say it’s easy, but it’s not.

To simulate real pop growth and then have „pure species pops“ coming out of it, you need a very complicated system.

Pop growth of a population needs to be calculated for every species and sub species separately and parallel, like in the old system. Say one pop is simulated by the number 1 million people of species x, then that number will rise continously. You will have two pops once you reach 2 million, then you have another pop. Of course, to have ONE ADDITIONAL POP, or million, will be much quicker for a population of 10 or 50 million.

This will result in low-number species have incredibly long times to get to a second pop. Due to the diverse nature of the game if you play xenophile you’ll have a very long time before you have ANY POP GROWTH AT ALL as a species diverse empire in the middle and end game with the migration treaties.

But mixed species pops cannot work in workplaces, so there’s that.

So you’d have to have buildings giving you hundreds of thousands of jobs to give the other species the chance to have a VISIBLE effect at all. Everything would have to be inflated in numbers. And then, Stellaris stops being visually easy and goes the way to become a strategic space simulation rather than a strategy game, so I’m very curious about their solutions they come up with.

Ship Upgrades

„Improving the Ship Upgrade mechanics so that if you cancel at 99% it will still leave some of your fleet with the upgrades rather than doing nothing“

Reasonable. They want to do it ship by ship which is totally logical and feels just the right way to do.

„Tweaking upgrade costs and time“

It has been a complaint that creating new ships was actually always cheaper than upgrading old ones which is a reasonable complaint. Why was that a game mechanic at all? Because the thing you PAY FOR with the increased cost is keeping your crew that will accumulate experience. You could say you need to pay them extra for a while to make them still available when their new ship comes up.

Ultimately, simulating crews separately would solve a lot of problems but it would also make the game more complicated which, again, makes it less of a game. But it is also reasonable that slightly upgrading your ship and exchanging parts while the core stays the same shouldn’t cost more than an actual new ship. So let’s keep it simple and just reduce upgrade costs and, maybe, increase ship costs a bit to compensate.

Planet View UI ETC

„Will clean up the district view“

„will make special resources visible better“

„will be able to prioritize one job per strata by giving it stars“

It sounds to me that they know they’re in a deep swamp with the new Planet View UI, so let’s just see what they can do to make it better step by step.

I love multi species empires, so my priority would be to give pops preferred jobs, or rather a priority to get certain jobs easier, well that’s not bound to the planet view but a general rule. But really, multi species empires at the moment are a mess, just like the planet view UI.

The steps they mentioned though WILL make things better and then we’ll probably see other prominent steps to make everything better, so believe in change and, probably, believe in SCRUM management.

Paradox Original Dev Diary #139

The Stellaris Megacorp Grand AI Tournament is now accepting submissions: Do You also like to create Stellaris Empires? Watch the video and join the fun 🙂

To get you started here’s a first overview about the civics, ideas and synergies of a Megacorporation (Stellaris Megacorp DLC)


But now: Paradox has delivered! And we will as well: Here you go – have fun watching and Happy Gaming 🙂

Our Let’s Roleplay Megacorp on Grand Admiral / 5x Crisis – MEGACORPSE INC. Schedule: Daily 4 PM GMT+1

Pillars Of Eternity 2 Deadfire – Beta Impressions And Character Creation Talks – 4K (Easy Watch Page)

About The Pillars of Eternity 2 Deadfire – Beta Impressions & Character Creation Talks

I’m regularily doing some stream events with my subscribers where we look at the Backer Beta in a chilled and relaxed and thorough way, from normal gameplay to the character classes and their general workings, and good ways to “build” them.
This is the result of streams and feedback from the streams – you cannot call the character talks guides, but if you want to use them as such they will give you a solid foundation for the game for at least Hard difficulty.
More will be added to this post as the streams expand, so you can bookmark and check for regular updates 🙂

We have, so far, two YouTube playlists here, one for the impressions of general gameplay and graphics, the second for character talks, at the moment for Fighter, Ranger and Monk.

Pillars of Eternity 2 Deadfire Beta Impressions in 4k60p

Pillars of Eternity 2 Deadfire Character Talks / Analysis Backer Beta (Tank Fighter, Ranger, Monk in general)

I hope you like what you see, I certainly do, and so have fun watching and Happy Gaming, Your

Immanuel Can

Pillars of Eternity Character Creation: Adonan, Aumaua Fighter and Quoril Yogsword, Pale Elf Priest

Hi guys and gals!

So, as we wrote earlier, Kevaver will be joined by his friends, a concept custom party designed for Path of the Damned (which will hopefully fare well, as this is a mostly blind Playthrough).

And to create the “basic” group, we chose two of his friends to join him early. Adonan, a tough Aumaua Fighter and Quoril Yogsword, a Pale Elf Priest of Magran.

So first, Adonan:

Race: Aumaua – Many enemies in the frontline have stun or knockdown abilities. The Coastal Aumaua ability (resistant to these abilities) is excellent against that! This enables him to better control the combat himself (and to take fewer hits of course).

Might 13
We want some Might, but he’s not a damage dealer, so we won’t spend too much on it. 13 is a pretty OK value getting a nice Fort save as well.

Constitution 18 (+1 = 19, from Rauatai)
He’s a tank. He has to have many hitpoints. And Fortitude save is the most important save for tanks too, they can take the Reflex save based Area Damage no Problem. But failing your Fortitude save will bring you in trouble as many melee opponents have abilities just against that save.

Dexterity 12
Dexterity isn’t crucial for a good tank, but it’s just so good generally. We just have to take it to bring down cooldowns and recovery times a bit.

Perception 13
On Hard we would dump this stat, as we wouldn’t have a problem hitting enemies anyways. On Path of the Damned, if your Perception is too low, you will have problems with anything combat related (if you’re not only buffing / healing). So, a compromise.

Intellect 3
The only ability we can afford to dump. It’s not crucial for a tank even though it wouldn’t hurt either. But many effects and abilities of the tank are instant and have to do with doing engage / disengages. Intellect won’t help there much. We are bleeding on the defensive Auras though, but sometimes, we have to make sacrifices for a gain elsewhere.

Resolve 18
We are playing a tank. He should have good deflection. This helps. It’s rather useless for a non-tank though.


Second, Quoril Yogsword

Race: Pale Elf. He is more resistant to elemental damage now which can be a problem even in the back row (think Fireballs or spells in general). This will help him, as he has that super low Constitution…

Might 18
We want our spells and abilites to be as strong as possible. We want to do damage too, if using weapons. This is giving us the power. What we sacrifice is..

Constitution 3
Our priest is mainly a buff / debuff character with ranged attacks. So we don’t ever want him to be under attack. He’d be dead then with Con 10 as well, so no point in going for more than the minimum. We’ll have to be careful with him though, as there are many archers and other ranged opponents in Pillars of Eternity.

Dexterity 19
Now how great is quick spellcasting, quick attacks and quick recovery time? Speed has, in most RPGs, been a crucial ability for spellcasters and, of course, healers. Pillars is no exception.

Perception 9  (10 with The White that Wends)
Not that good but not too bad either. We want to be able to hit things when debuffed. Or we want to debuff them. Buffs are more important still, but we won’t cripple our Perception totally. That would be neither helpful nor needed.

Intelligence 18
Just nice to have. A good area for the area spells and longer lasting buffs. Maxing that is mandatory.

Resolve 10
We won’t dump that as for a healer, some help with concentration can be crucial. But we won’t boost it too. As it’s really a tank stat.


Alright, I’m out – see you on YouTube in the Playthrough!

Have fun gaming,

Immanuel-Can


#Wizardry8 #Potion #Mixing Overview

Hi gals and guys 🙂

Thought you’d find this helpful: A collection of useful potion recipes and their requirements (Alchemy) in Wizardry 8. Lucrative Recipes are in Italics. There you go!

alchemy Created Potion Component 1 Component 2
15 Potion of Hv. Heal Potion of Lt. Heal Potion of Mod. Heal
15 Potion of Cure Poison Potion of Lt. Heal Potion of Poison Reduction
15 Potion of Guardian Angel Potion of Lt. Heal Potion of Bless
20 Pickmeup Potion Potion of Mod. Heal Potion of Mod. Stamina
20 Acid Bomb Stink Bomb Boom Bomb
40 Potion of Cure Disease

Potion of Cure Light Condition

Potion of Hv. Heal
50 Renewal Potion Potion of Cure Disease Potion of Hv. Heal
50 Potion of Restoration Potion of Hv. Stamina Potion of Hv. Heal
50 Pandemonium Powder Sneeze Powder Flash Powder
70 Skeleton Powder Dust of Dessication Concussion Powder
85 Resurrection Powder Renewal Potion Magic Nectar
95 Canned Elemental Fire Bomb Ice Bomb

Have fun gaming! See you!

Immanuel-Can
#Wizardry8 #TLDR #Tactics 10: Beating the #Rattkin #Breeders

rattkinbreeder

In Trynton, you probably want to help the Trynnies to get rid of the Rattkin Breeders. Now these are monsters doing monstrous damage; but they also have good loot available. Around Level 10, even earlier sometimes, you could be able to beat them (on expert); depending on your group and equipment it may be easier – or harder.

They are in a room with 3 Rattkin Archers, but these are no problem compared to the Breeders. So, I’m not going to write anything about the archers. Basically, if you have the Breeders under control, you have won the fight. So here goes:

They are weak to Fire and Mental Magic, so you should really try to spam higher level Insanity or Fear on them to keep them under control while killing them. (If you have the Jack in the Box for your Gadgeteer or the Siren’s Wail for the Bard, that is mostly a safe option). You can watch an example fight on expert difficulty here.

Otherwise they are doing really good melee damage and can knock your guys unconscious as well as poisoning them or paralyzing them – so watch out, kill them quickly and keep them under control. If you cannot kill them quickly, don’t take a chance and try to remove all negative status effects from you party as soon as possible as well as heal up. It will help you survive the fight.

It is recommended you use special equipment you found in this fight. Especially buffs will work well, like a Scroll of Haste. Also, distribute potions and sneeze powders on your party members in case of hp troubles or someone going unconscious.

Have fun beating the rats

Happy gaming!

Immanuel-Can


#Wizardry8 #TLDR #Tactics #9 : A Crabton of damage Ant more

tldr-tactics-9-crabs
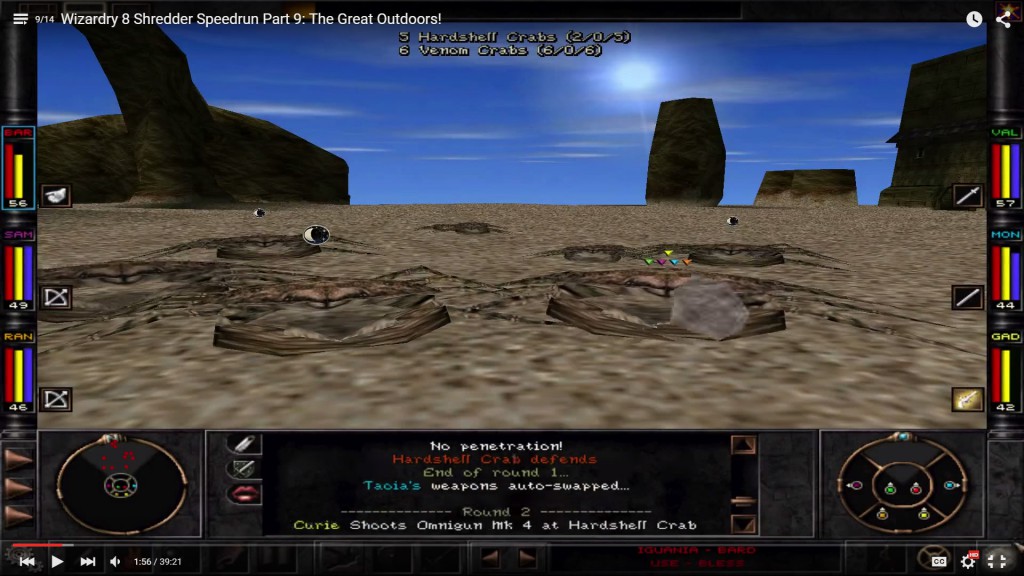
When leaving the Monastery, you will likely encounter a group of crabs not that easy to beat: Venom Crabs and Hardshell Crabs. Here’s how you deal with them:

  • Venom Crab
    Usually around 10-20 hp, needs close range to attack, will add up poison stacks on your party members (-AC / -hp per round).
    These die easily, but there is usually a big number of them. Fortunately they are vulnerable to mental magic, so your bard’s lute as well as spells like Terror or Insanity will be great against them.
    Also, they take good damage from fire realm spells, as expected.
    If you have a source of area damage, that too will be a good idea.
    And as you probably thought they would be: They are pretty resistant to water magic. So if you are just so-so with your paralyze spell, spare your round and your spell points.
    Kill them whenever you have time for that in the group after the Monastery. They are not a number one priority, but they are bothersome nonetheless!
  • Hardshell Crab
    Going up to around 40 hp these are harder opponents and should be your number one targets as they have extended range. If you have casters or other weaklings in the second row, you should not come close to them but rather kill them from extended range.
    They can hit pretty hard, usually double digits and are generally not easy to deal with when your party is still low level.
    As for spells, go with the Venom Crab advice above: Weakness to mental and fire spells. Insanity is great on these.
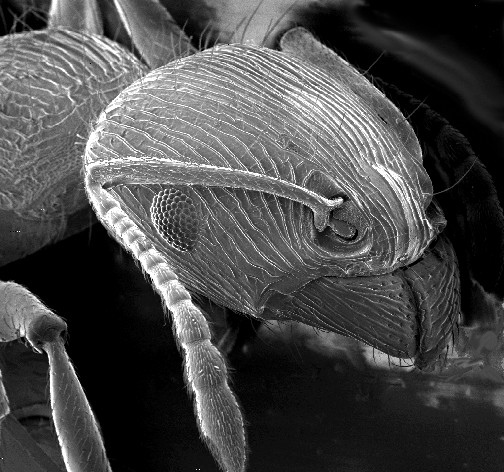
  • Soldier Ant
    Usually only around 20 hp and in large groups, they hit pretty hard and can fit into one spot easily. Their models don’t need much room, so on a minimal door, there would even fit 2 or 3 of them, like you encountered with the roaches and other bugs. They can hit pretty hard and you should kill them quickly because it is so easy and they do some significant damage for their low hp score.
    You will likely have some source of area damage right now; use it against them. Also, mental spells will be great against the ants.
    Don’t let yourself get surrounded, as this will likely be fatal for your casters or other back row characters. Use at least the “your back to the wall” tactic!

Have fun gaming!

Immanuel-Can

#Wizardry8 #Shredder #Speedrun #12 : Insane Graverobbery

Where we deal with flying heads in an ancient grave and get all the good stuff.

A guide on how to deal with Insanity in certain fights: Avoid your characters hitting each other 🙂

Also: Various fights on the way from Arnika and more combat tactics.

Have fun watching and happy gaming!

Immanuel-Can

#Wizardry8 #TLDR #Tactics #8 : Squatting Spiders! (Don’t tell PETA)

tldr-tactics-8

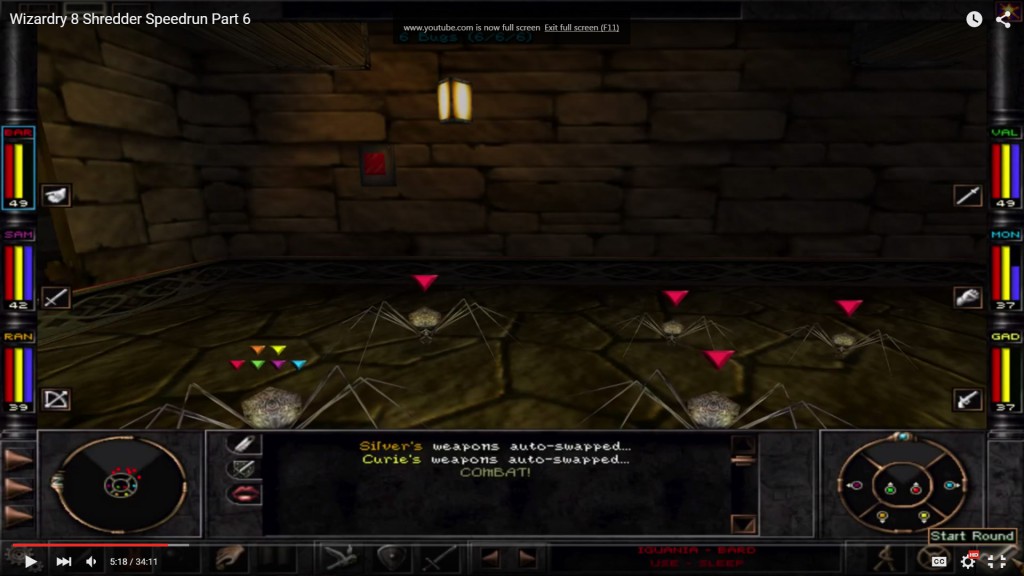
As for our 8-legged friends we encountered in the Monastery, that’s how to get rid of them:

  • Small Spider (level 4 usually)
    They have pretty low hp but are usually encountered in groups. Good to meet them though as they are easily disposed of – if they are alone and don’t have other monsters to help them.
    You can just give them any damage and they will die quickly. If there are other mobs, by all means kill the spiders. They will ranged-attack you and have a high chance of paralyzing your party. So: While harmless if they’re your only opponents they are a menace if you have some high hp opponents to accompany them.
  • Wolf Spider (level 6 usually)
    Low hitpoints, great XP. Don’t run from them if they are alone, you’ll be able to kill them with any party. If you have problems getting damage done, try to lure them to an edge and a doorway to avoid being constantly paralyzed.
    That said, as with the small spiders: Beware of other monsters adding up. This will be dangerous.

See you around,

Happy gaming for you!

Immanuel-Can


#Wizardry8 #TLDR #Tactics #7 : Metallic slimes – good for your iron value?

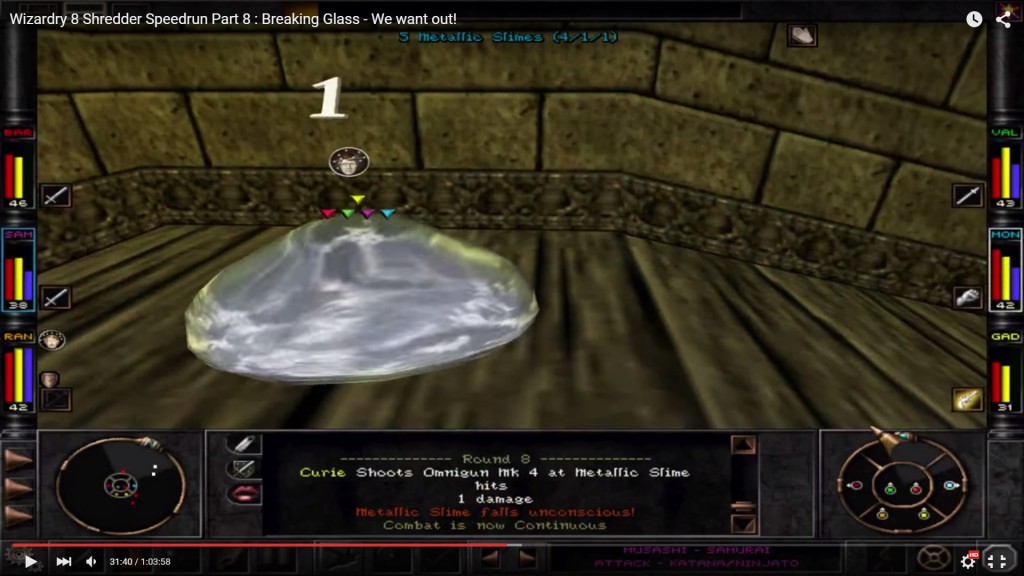
Metallic Slime

Some of the last “slimey” encounters we had on our “bad last day” at the Monastery. Kill with care!

  • Metallic Slime (around level 8+)
    These blobs have around 100 hp and will shoot at you, but can attack in melee too (and will do more damage then). They can drop your party members unconscious and, if the party member is already unconscious, there is a chance your hero will just die. Just like that. Though the chance is low.
    So while they are not dangerous for their damage, they are dangerous for their special effects. And because it takes forever to kill them: Their received melee damage is reduced by 50% – so good for you if you have magic damage (like the Lightning Rod for your Gadgeteer)!
    It’s pretty easy to run from them after you’ve killed one or two and come back later when you have replenished your reserves.
  • Pustulant Slime (around level 4-6, mostly 5)
    Hard to kill because they tend to nauseate(-4 AC / – 4 to hit / may miss a turn) your whole party with a green cloud, and nauseates and poisons (-AC / -hp per round) when attacking too. About 50 hp and you may meet them as early as level 3-4 if you’re unlucky. If you’re at that level and meet 4+ of them, you can try to kill one of them and then just run. Later, it’s a slugfest trying to kill them and it will deplete your resources – so make sure you’ll get no additional mobs if you encounter these. Lightning Rod or high spell damage helps here too.
  • Poison Seekers (around level 7-9, red texture)
    If you meet these still in the Monastery, you may not be able to identify them but contrary to the usual green seekers, they have a reddish look on them. They’re pretty nasty opponents because they’ll have around 60 hp, stand around you, may still nauseate you but will poison you with nearly every shot. Especially your characters with low VIT will be affected, which is dangerous on its own.
    The Poison damage per round can also ADD UP, so be careful when you get that hefty 6 or sometimes even 9 dmg per round in addition to their damage. Don’t underestimate them, make sure to lure them to a position where you can confront them one by one or at least not more than two at once (a door would be ideal).
    Remember your Potions of Poison Cure, burst these seekers down and good luck if you meet them early 🙂

May you find fortune on your journeys,
have fun gaming!

And see you soon,

Immanuel-Can

#Wizardry8 #Shredder #Speedrun #7: On a different level!

…where our party meets Burz, the Monastery shopkeeper and has a nice chat with him.
Also: Getting to the next level of the Monastery, killing some Higardi and meeting a mysterious stone statue of a bearded man.

Nothing trolling us this time. Just rolling along enjoying life and doing damage. Refining our tactics, beating “shit” up.

Have fun gaming,

until next time

Immanuel-Can


%d bloggers like this: